

How to hang up your Joki hanging nest
Keep scrolling to learn everything you need to know about hanging a Joki children's hanging nest!
1 | The right place for your Joki hanging nest

Joki hanging nests encourage sensory play and tons of fun for your little ones! But before they can get to rocking, swinging and dreaming, we need to locate the right spot for setting up your Joki hanging nest.
Setting up a Joki indoors
Many customers choose to set up their Joki hanging nest in a bedroom, living room, or play area inside the house where little ones can play, explore, and relax as they please.

Setting up your Joki hanging nest indoors requires a load-bearing ceiling of solid masonry or drywall with wooden substructure (studs) to install the included suspension kit. If this is unavailable, Joki can also be attached to a sturdy load-bearing beam or from a loft bed with the required height clearance. Please be sure to check out our product height and weight requirements before installing.
If you are renting and plan to install your Joki’s included suspension kit from the ceiling or from a beam, we recommend checking with your maintenance provider before installing.
Hängehöhle draußen aufhängen

Im Freien gibt es viele Möglichkeiten zur Befestigung einer Hängehöhle: Es bietet sich beispielsweise eine Terrassenüberdachung oder ein eckiger Balken an. Aber auch ein Ast, ein runder Balken, eine Stange oder ein Schaukelgerüst können für die Aufhängung genutzt werden. Wichtig ist, dass du dich vorab von der Tragfähigkeit des ausgesuchten Elements überzeugst. Falls du dir dabei unsicher bist, hole bitte Rat bei einer Fachkraft für Gartenbau ein.
Good to know
Suspension from ceilings and square beams is easy with Joki’s included suspension set. If you decide to hang Joki from a round beam, pole or branch, we recommend our TreeMount suspension set, which can be ordered separately from our online shop.

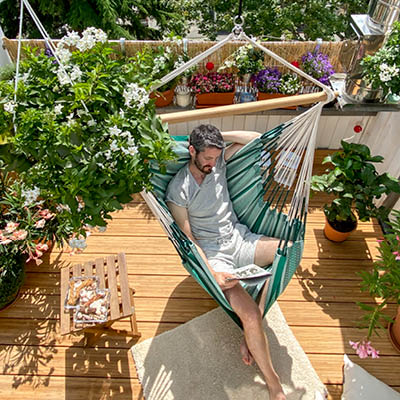
2 | How much space does your Joki hanging nest need?

You should always place a Joki hanging nest so that it cannot bump into walls, furniture or other objects when swinging. In addition, the ceiling/hanging point must have a height of 2-4 m, or 2.20-4.20 m for Joki Air hanging nest.
3 | Suspending your Joki hanging nest
Installing Joki from a ceiling or a square beam

To hang your Joki from the ceiling or a weight bearing square beam you will need the included suspension set and a power drill.
The included suspension set consists of:
• 1x MultiSpot ceiling mount
• 1x rope
• 1x SmartSwivel safety swivel
• 4x screws and dowels (anchors)
• 1x paper template
How does it work? Keep scrolling for step-by-step instructions below:
-
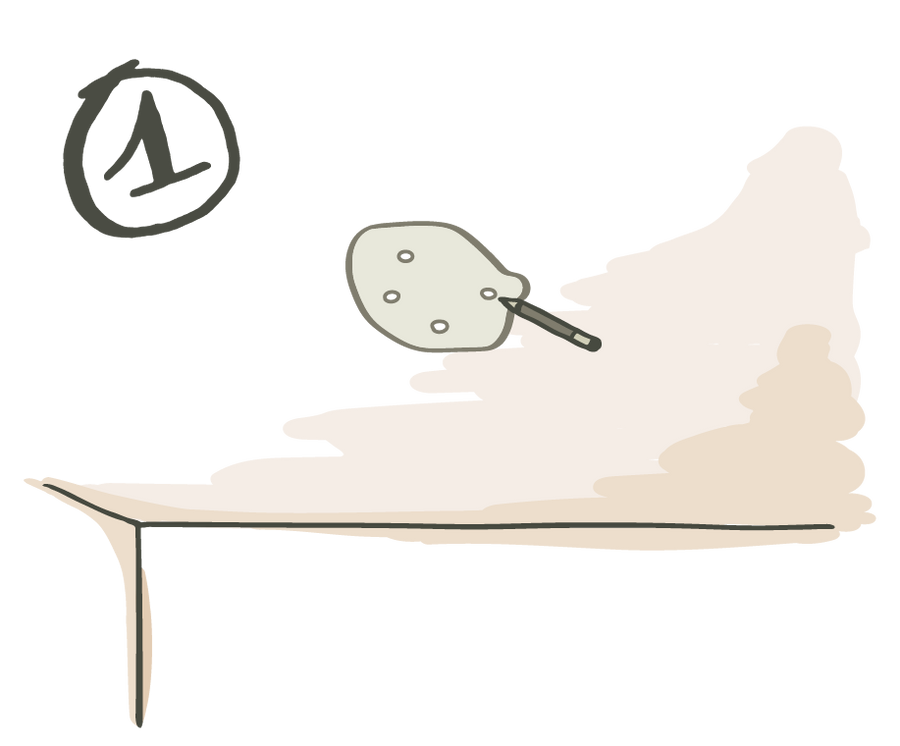
Use the included template to mark 4 drill holes on the ceiling or beam. This will mark where your MultiSpot goes.
-
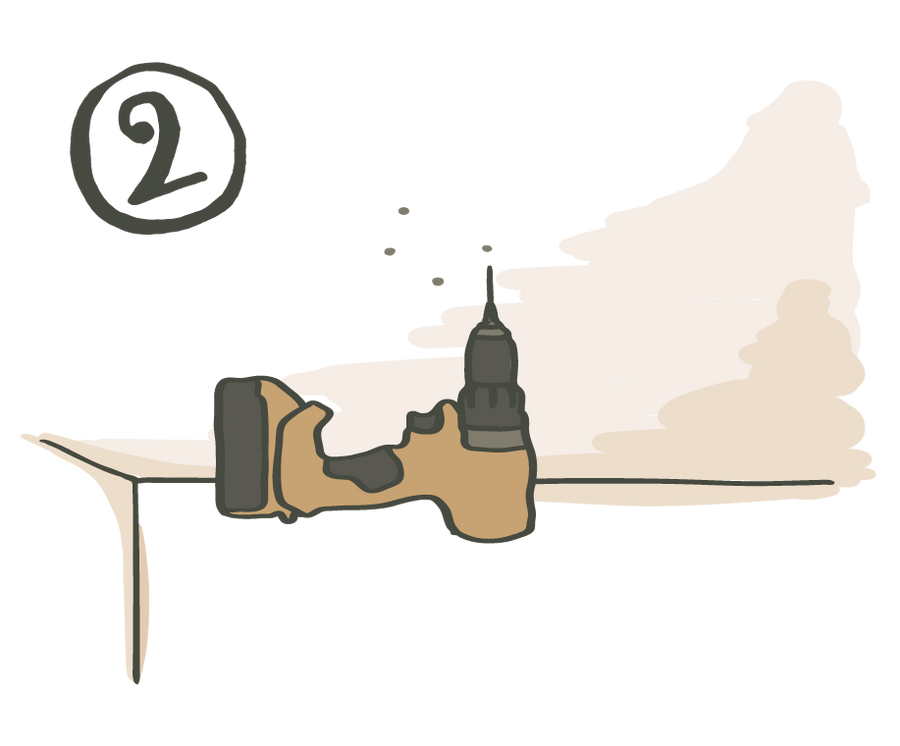
Drill the holes at the marked drill hole locations using a 8 mm drill bit or a 2-3 mm wood drill bit.
-
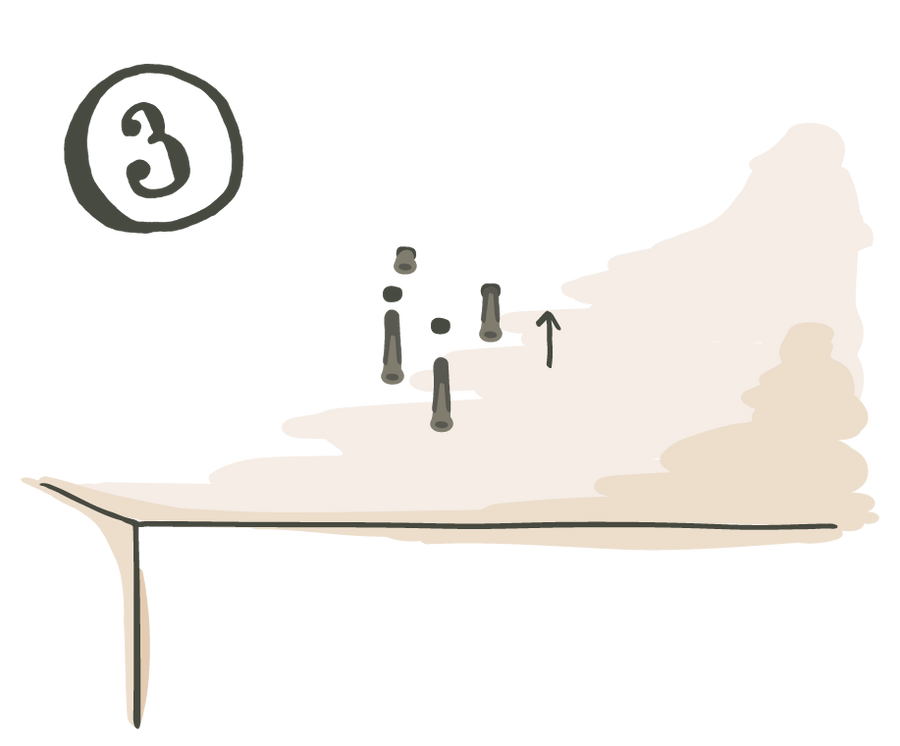
If you are attaching the MultiSpot to a ceiling made of solid masonry, insert the included dowels (anchors) in the drilled holes. These should be flush with the ceiling surface. If you have drywall or wooden beams, this step is not necessary.
-
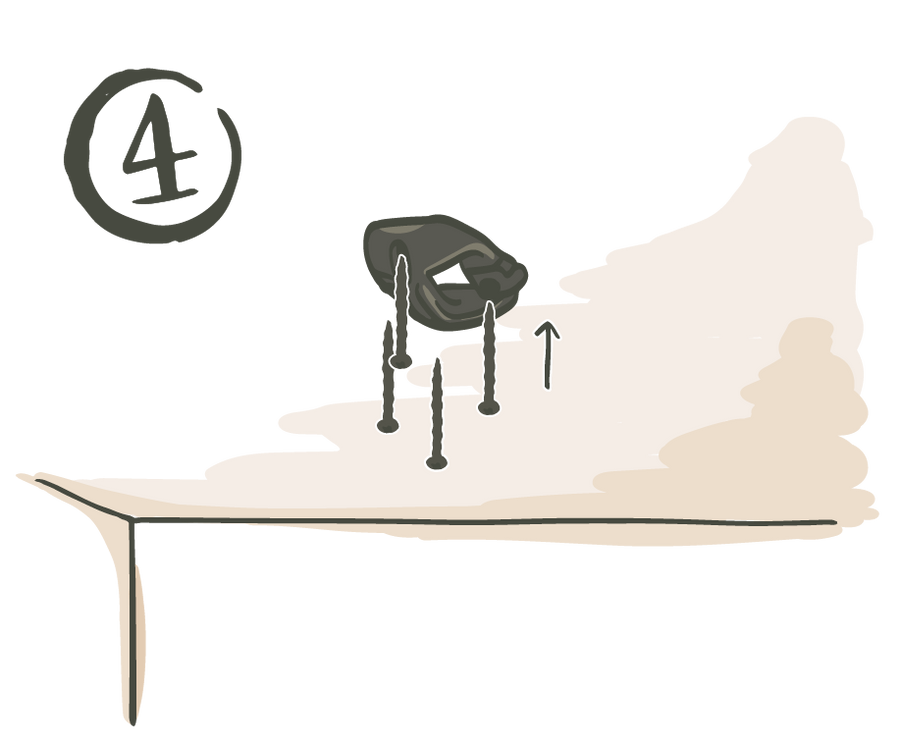
Attach the MultiSpot to the ceiling or beam using the 4 provided screws. Be sure your MultiSpot does not pull away from the ceiling and is securely fastened.
-

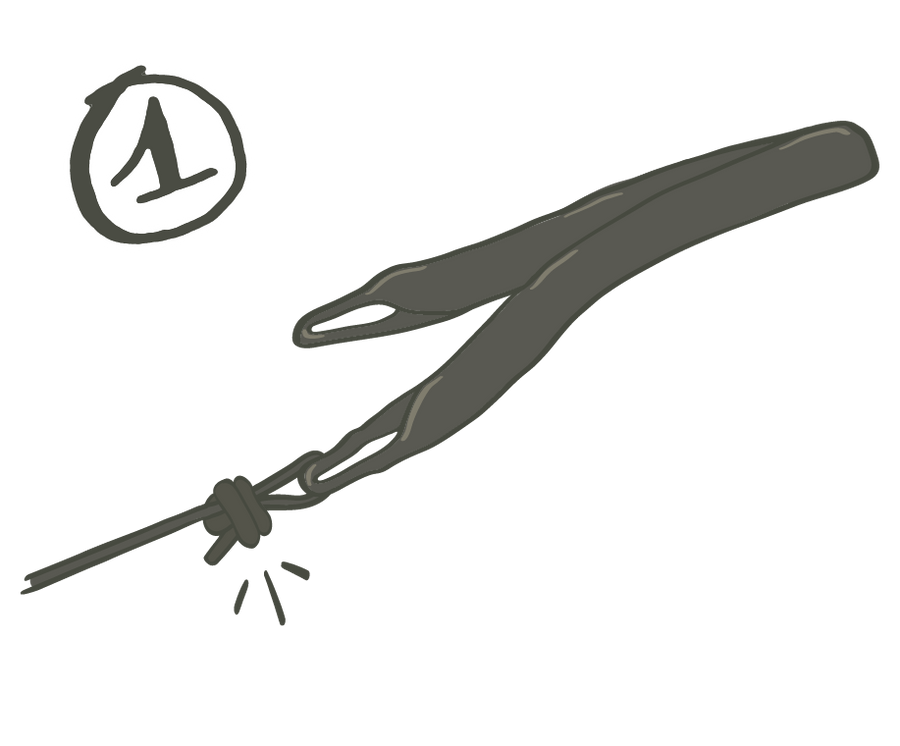
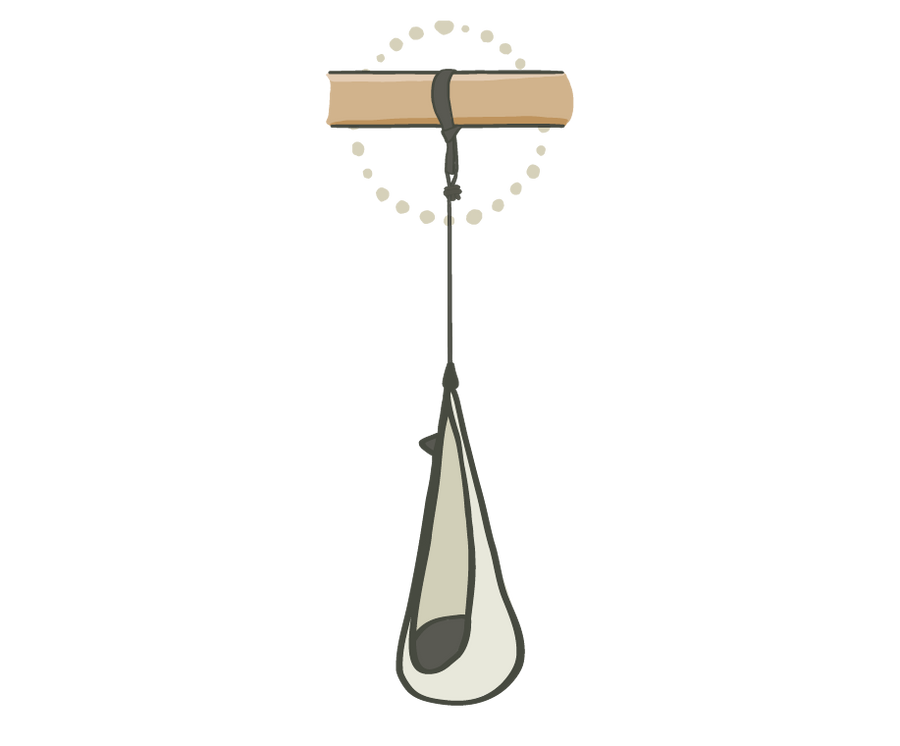
Knot the end of the provided rope into a loop and thread the loop through the MultiSpot. Hook the open loop on the MultiSpot hook.
-
Feed the other unknotted end of the rope through the provided openings of the SmartSwivel.
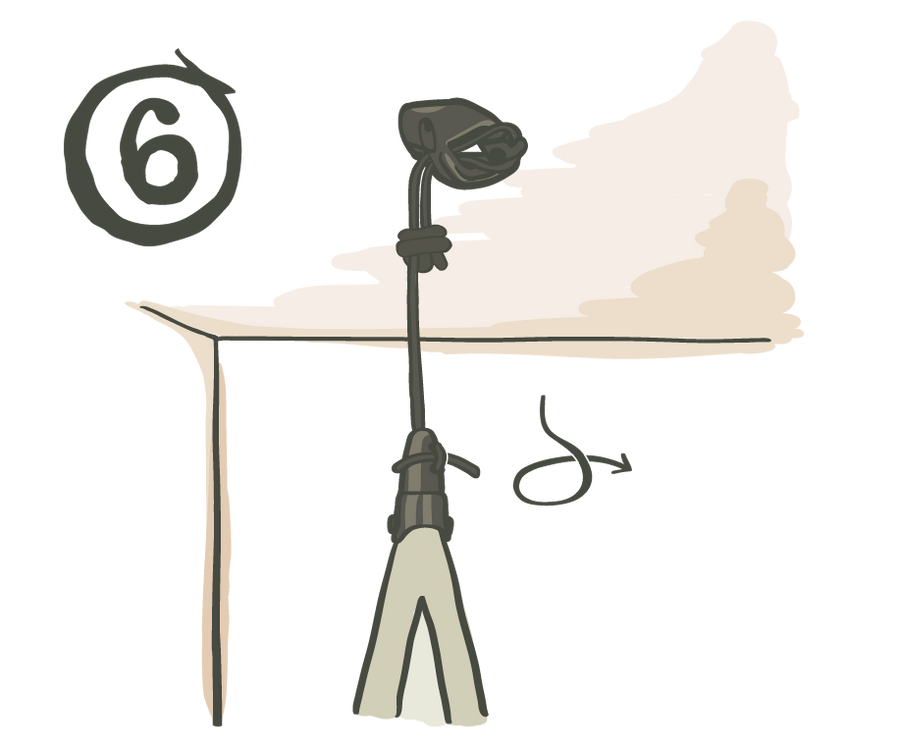
-

Set the correct hanging height with the adjustable SmartSwivel. A distance of 30 cm between the floor and bottom of your Joki hanging nest is recommended, but be sure that while in use your little one‘s feet can comfortably touch the floor.


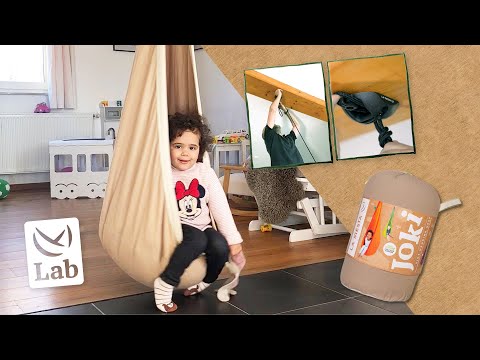
Hanging the JOKI hanging nest from a wooden beam
In the LA SIESTA Lab we explain how to hang Joki from a beam again step-by-step.
Attach your Joki hanging nest to a branch or round beam

To hang your Joki from a tree branch, we recommend our TreeMount hammock chair mounting kit. This includes:
• 1x tree strap
• 1x rope
• 1x SmartHook
You won‘t need the SmartHook for installing your Joki, so you can put it aside.
To hang your Joki from a treebranch or beam:
-
Attach the rope to the TreeMount tree harness by tying one end of the rope to the end loop of the harness. Be sure to tie a secure knot.
-
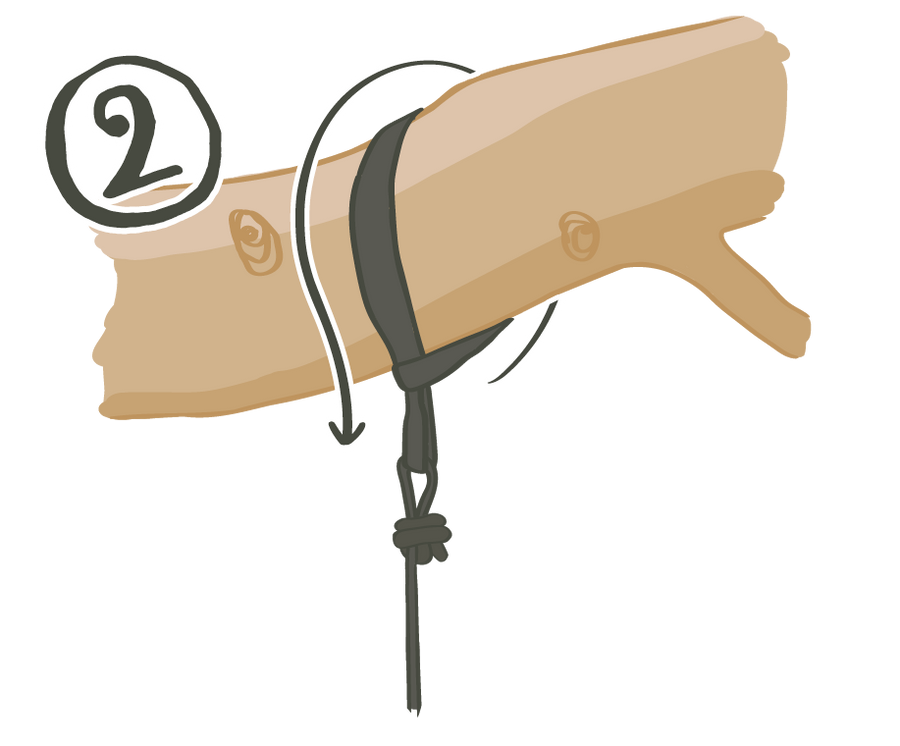
Wrap the construction of strap and rope around the branch, pulling the rope end through the other open loop and pull it tight.
-
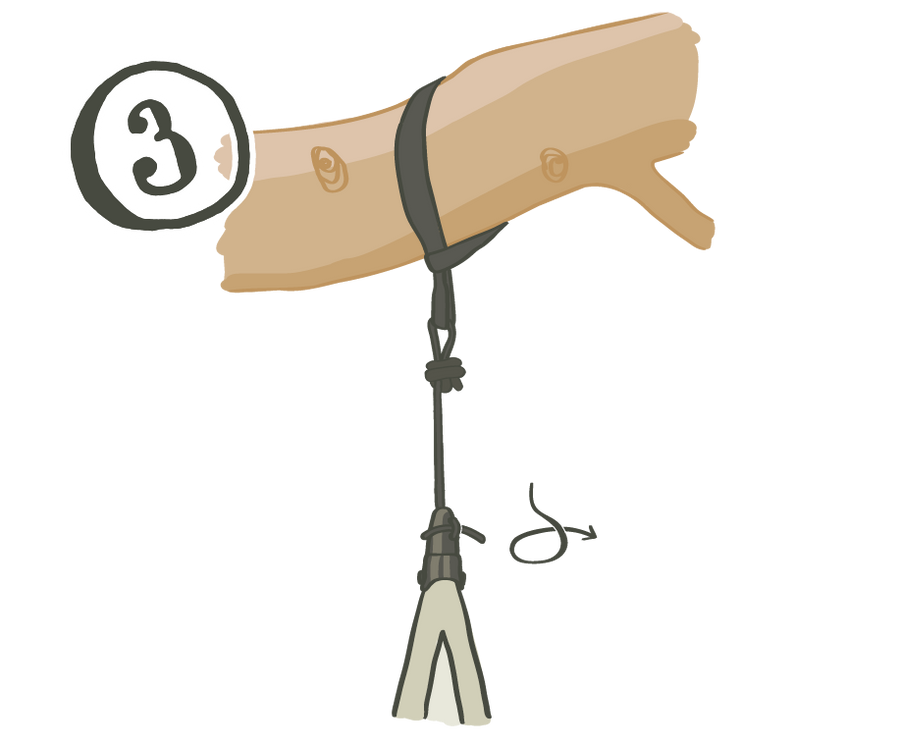
Pass the free end of the rope through the SmartSwivel and use it to set the correct suspension height, which is approximately 30 cm above the ground.
-
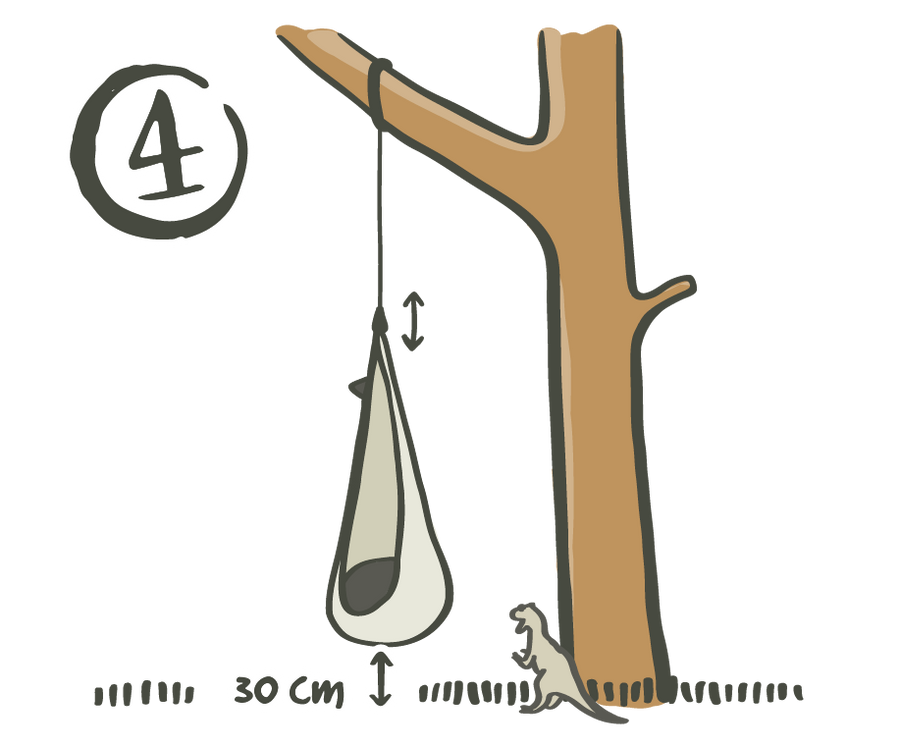
Also, make sure that your child's feet can comfortably touch the floor without the fabric piece grazing the ground.
-
Mounting on a round beam follows the same steps.


4 | Enjoy your hammock chair
With our tips for setting up your Joki, you'll be well prepared to create an oasis of fun for your kids to play and rest in no time. Have fun hanging out!
Further topics:
-
Hang your hammock
With our tips, you can setup your hammock in the garden or indoors in just a few simple steps. -
Setup your hammock chair
We explain step by step how to setup your hammock chair indoors or outdoors. -

FAQ
Here you'll find the most frequently asked questions about hammocks, hanging chairs, payment, shipping and returns.


